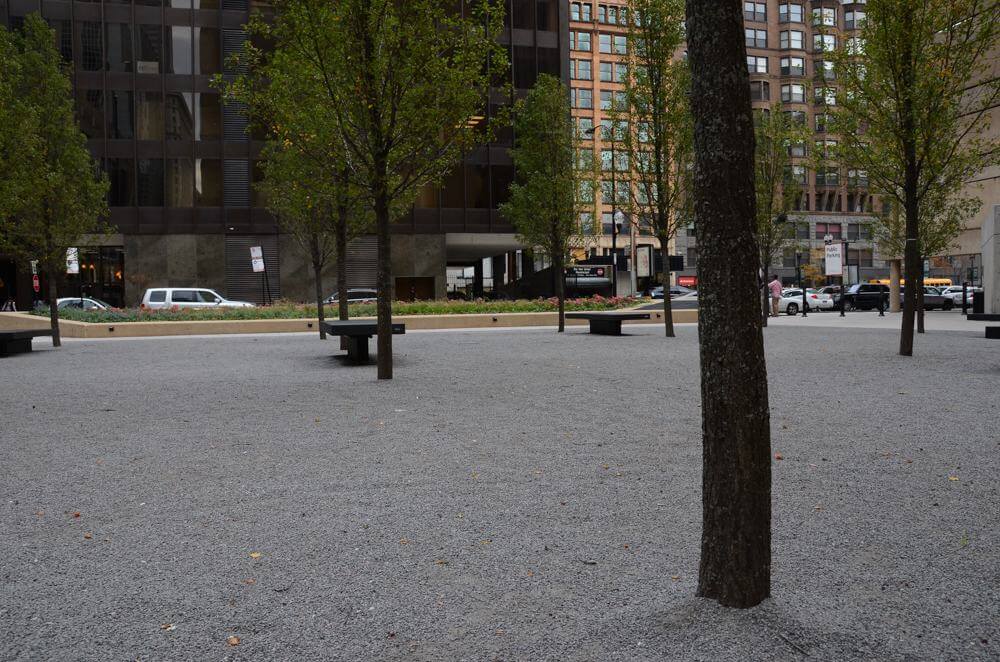
Our parks and common spaces can be essential relaxing oases for everybody. Whether you want to craft a beautiful sanctuary clad with meditation fountains or you simply want to improve an existing walking or biking path through a public space, we have the variety you’re looking for in decomposed granite. When it comes time to laying a path down, you want it to be functional, durable and good-looking—the last thing you need is a muddy eyesore cluttering a piece of the great outdoors.
Kafka Granite can help you find exactly what you’ve been searching for. Whether you’re a landscape architect planning your next design or contractor seeking the best in decomposed granite for the project, give us a call today. Pathways made from decomposed granite (DG) are aesthetically beautiful, durable and can be incredibly permeable—all qualities you want in a pathway.
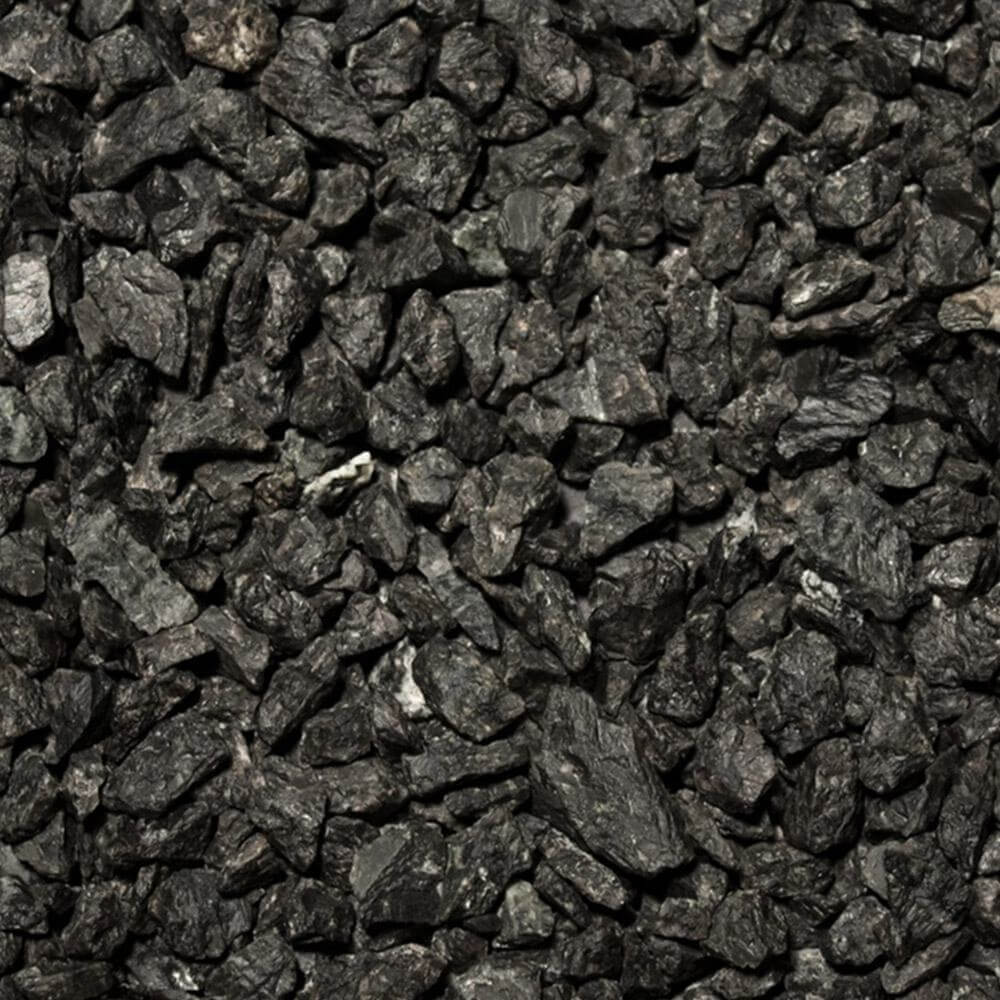
So you’ve been tasked to create or replace a pathway. Once you’ve chosen your vibrant, natural aggregate—which can be the tough part with over 50 different colors to choose from—you might be wondering what to do next. You’ll need your aggregate, water, and a 1-ton double drum roller (minimum) to get the job done. Are you ready?
1. Setting the Base
Laying a gravel path is easier than if you were to make one out of bricks, pavers, or flagstone. A hardscape path can take on more complicated twists and turns that might prove to be too much work when making a cobblestone pathway. Aggregate paths are beautiful and functional—able to endure traffic from pedestrians, bicycles and even vehicles.
First, you should decide where you want your path to be. You can do this simply be drawing a crude sketch of your vision and pathway location or even by staking out the path along your intended route. Once you’ve completed the direction, width and design of your path, you can start with the base. The compacted base depth varies depending on the path’s purpose. Remember, the subgrade should be even and free of debris.
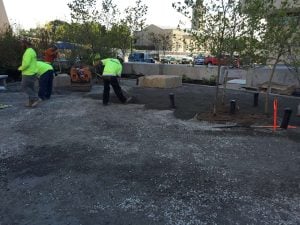
Your local DOT-approved road base is a suitable base material for this application. Evenly spread this base layer at a depth of roughly four to six inches (four inches for pedestrian and bicycle traffic, six inches for vehicular traffic), water until damp, and roll with a 1-ton double drum roller until compacted to 95 percent. Hand tampers are acceptable for extremely tight spaces and nooks, but it is always recommended to use a 1-ton (minimum) double drum roller for the majority of a path’s surface to achieve proper compaction. The path’s base layer is essential to compaction and drainage, and it serves as the foundation for the path itself. Creating a solid base is crucial to the success of your pathway.
Note: You can opt to lay down a weed barrier or filter fabric over this bottom layer. Landscaping fabric is made up of tightly woven plastic fibers and can greatly diminish weeds from growing sporadically through your pathway.
2. Edging Your Path
Another step to consider is edging. If you’re worried that decomposed granite will stray from the path upon completion and leak into the surrounding grass, edging might be the right choice for you. However, if your path is cutting through more organic arenas, such as gardens or forests, you might not be too concerned about keeping your granite within boundaries and this step can be skipped.
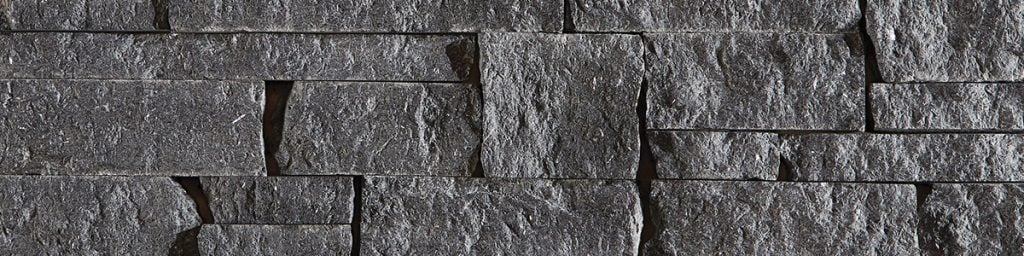
Galvanized steel, pressure-treated wood, cobblestones, bricks, or plastic edging are all viable options for your pathway edges. Each type of edging has its own benefits and pitfalls, and your choice could ultimately come down to cost and aesthetic. Set the edging in place after you’ve compacted your base layer and added your optional landscaping fabric. Remember that when you spread your top layer of DG, you can have the top edge of your chosen border sit one ½ inch above the top of your DG layer so not to overflow or lose some of your gravel. You can also choose to fill your pathway until the DG is flush with the top of your edging. The aesthetic and functionality of your pathway is completely up to you and your desired outcome.

3. Add Your Standard Decomposed Granite
Finally, add your decomposed granite gravel. Using a steel rake or heavier machinery, evenly spread your top layer throughout the entire pathway. If using an optional edging, be careful not to overflow or damage your edging. Once your DG is evenly spread, compact to 95 percent with a 1-2 ton double-drum roller, resulting in a minimum of 3 inches for pedestrian traffic and 4 inches for vehicular traffic. Multiple lifts may be required. If installing at a depth greater than 3 inches, it is recommended to install in 2–3-inch increments. Once spread and compacted to required depth and compaction, water until the pathway is damp, but refrain from making it muddy. Watering the pathway will help the rock dust settle to the bottom and allow the beautiful kernels of stone to come to the surface.
If you’re using a stabilized or wax polymer decomposed granite for your pathway, watering happens at different stages in the process or not at all. Stabilized pathways need the binder to be water-activated, so is recommended to pre-hydrate the aggregate before laying the path and compacting it in order to achieve consistent moisture content. In contrast, wax polymer pathways don’t need any watering at all as they’re made to shed water. Refer to these installation guides if you’re not using a standard decomposed granite as your pathway material:
Stabilized DG Pathways
Wax Polymer DG Pathways
Kafka Granite Is Your Decomposed Granite Headquarters
From curious landscape architect to experienced contractor, Kafka can help you find the perfect decomposed granite product for you. We offer standard, stabilized and wax polymer pathway mixes. These different varieties offer a natural look and feel, no matter where the pathway is located, but with varying levels of added stabilizing binders or engineered polymers. When trying to decide which option would be best for your project, consider how much foot or vehicular traffic your path might need to endure as well as what you need in terms of permeability and erosion control.
For samples or answers to your questions, get in touch with us today. We have the widest decomposed granite color variety in the industry and know how to make a pathway look good. Get started today and complete your pathway project this season!