Preventative upkeep and regular maintenance will go a long way towards keeping your pathways in good shape. But what are the specific steps you should be taking, and how do you fix a pathway once it’s been damaged? We’ve got the answers.
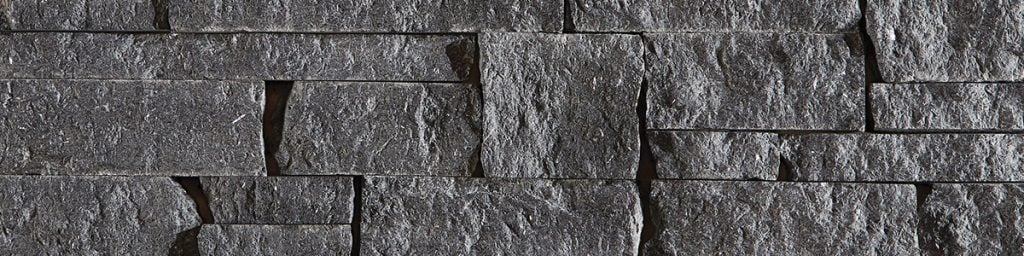
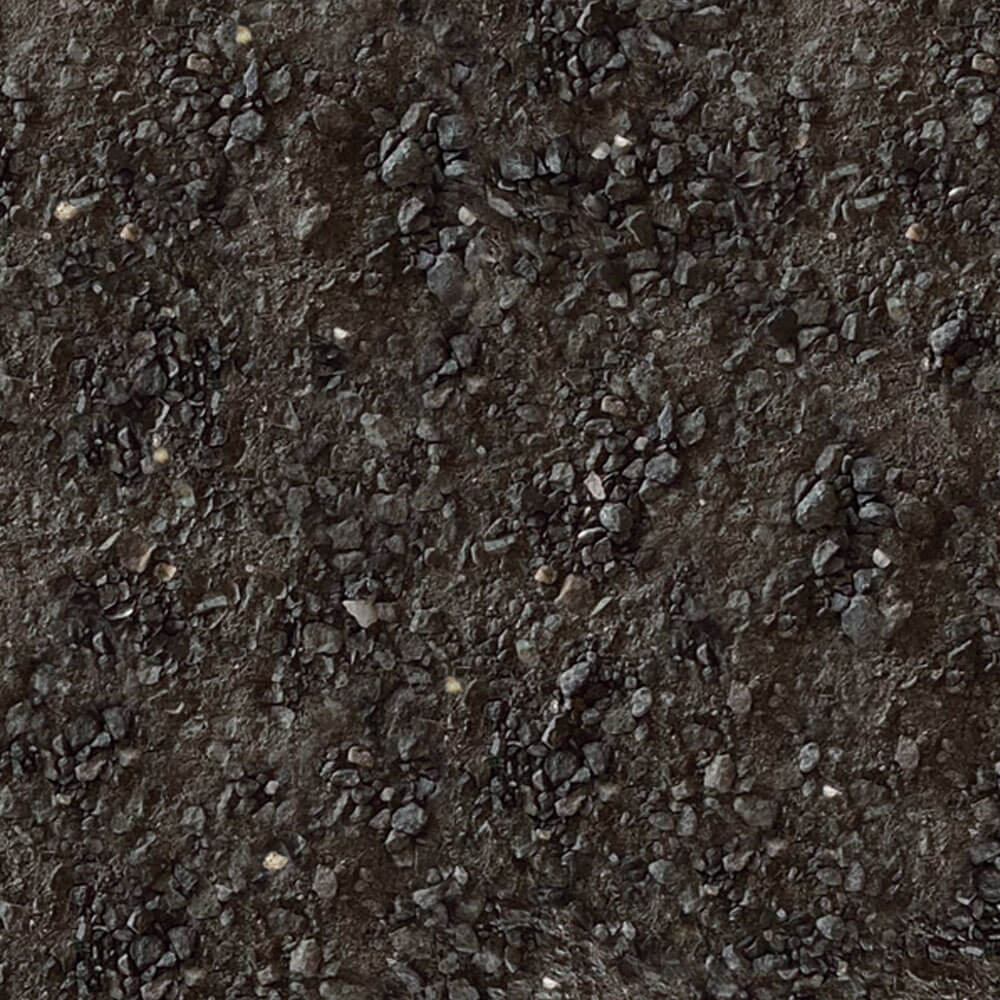
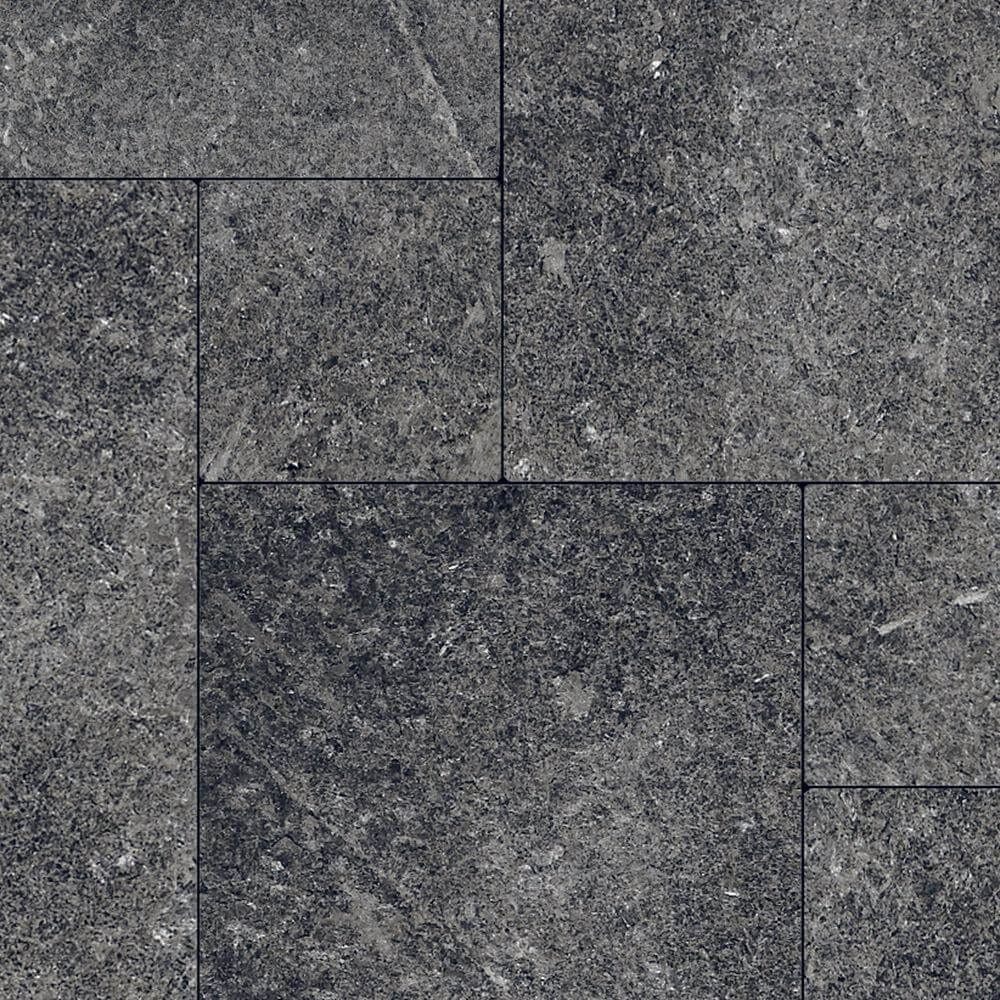
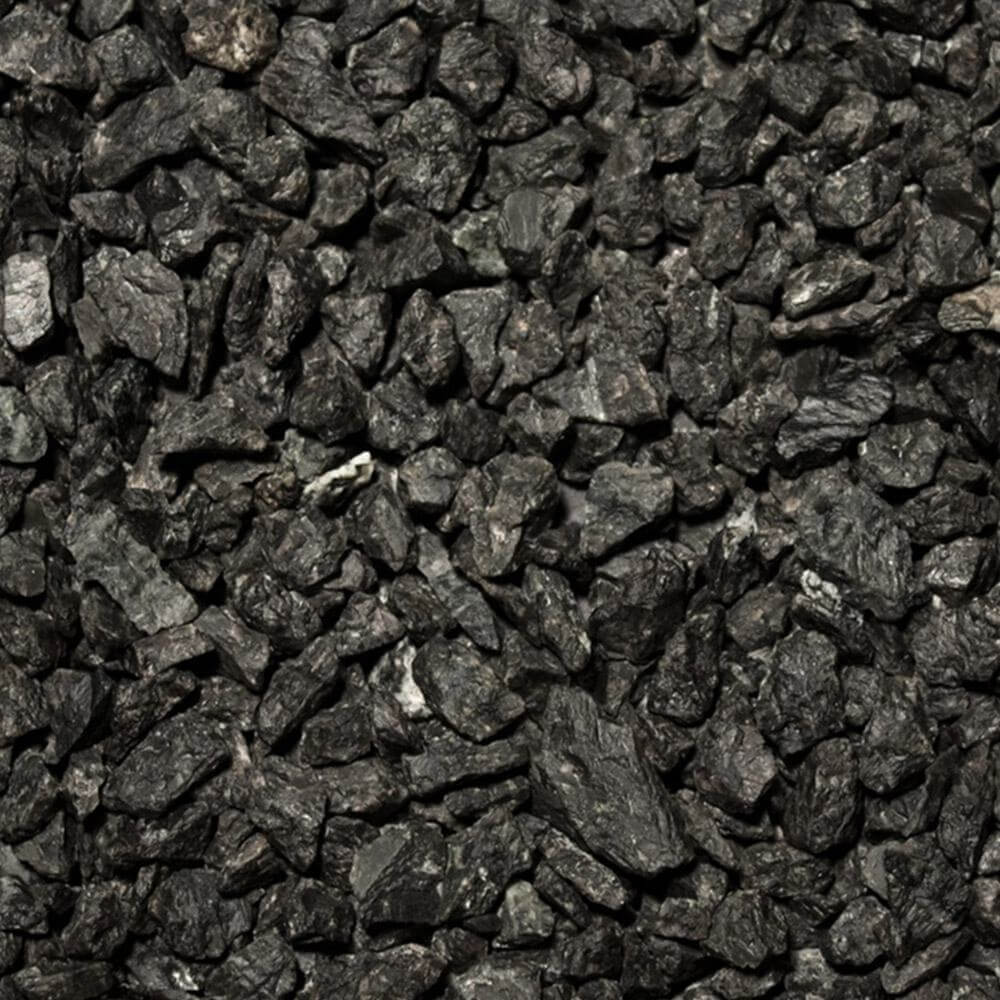
Kafka Granite’s Stabilized Pathway Mix is a combination of decomposed granite or crushed stone screenings blended with a stabilizing binder. Not only does it offer a natural, effortless look, but it also resists erosion and holds up well under traffic. But like all other outdoor installations, a stabilized pathway requires routine maintenance. Here’s a quick guide to keeping yours looking pristine.
Maintaining Your Stabilized Pathway
For Organic-Lock™ blended aggregates, we recommend doing a thorough analysis one week after installation, followed by monthly evaluations. These regular checks will allow you to identify damage and potential problem areas before they get out of hand.
Erosion
Erosion (usually from rainfall) is one of the most significant causes of damage. Fortunately, the stabilizing binders used in Kafka Granite’s mix allow pathways to resist erosion and hold up significantly better under heavy traffic than a standard or non-stabilized mix. If you do notice erosion damage to your pathway, the best course of action will be to figure out where the water is coming from and then divert it around the pathway. This can be accomplished by installing features such as drains, culverts, and diverters. Once you’ve successfully dealt with the source of the water issue, you can go about replacing any lost material.
Excess Loose Material
While Stabilized Pathways are designed to have some loose material on top, you may find that overtime the installation has more loose material than desired. As your stabilized pathway is exposed to foot traffic, the elements, and the passage of time, pieces of aggregate will eventually loosen on the surface of the installation. If the depth of these particles exceeds ¼ inch, it’s time to either sweep or shovel and remove them. Depending on how much material is removed, it may be recommended to replenish your pathway with new material.
Debris
In addition to excess loose material, debris will likely build up on your pathway. Depending on the location of the installation, that might include soil, gravel, grass clippings, or other organic material. You can remove debris from your stabilized pathway by hand raking or mechanically blowing the area.
Snow
If your stabilized pathway will be exposed to snow at any point during the year, it’s essential to understand how to properly plow it. The blade of the plow will need to be lifted ¼ inch off the surface of the pathway, which can be accomplished with either a shoe lift or rubber baffle. This small amount of space will allow you to plow snow without damaging the pathway beneath it.
Mixing Patch Material for a Stabilized Pathway
Even stabilized pathways that are diligently cared for may eventually require new material. We recommend keeping a small amount of the Organic-Lock blended aggregate on hand as attic stock. When the time comes to patch an area, you’ll have all the supplies you need to address the issue quickly and efficiently.
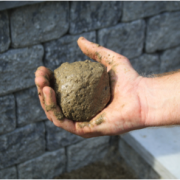
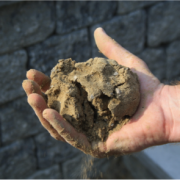
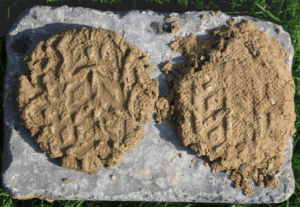
The Snowball or Step Test
Ideally, your mixture should reach a moisture content of 8-10%, which you can assess using the following techniques. If you can easily form a snowball-shaped handful with your material, it’s ready to go. But if it crumbles or has a wet sheen to it, you’ll need to add more water or more dry material. You can also test your mixture’s readiness by forming a rough ball and stepping on it. You should see a perfect impression of your bootprint, without any crumbling or noticeable wet sheen.
Fixing Slightly Damaged Areas
If the pathway material below the loose surface particles is damaged, it will need to be fixed—because it can no longer stand up to erosion or traffic. Light damage can be reversed without excavating the area: simply soak the site, scarify with a rake to 1-2 inches, and then use a hand tamper or roller to compact the area.
Fixing Severe Damage to a Stabilized Pathway
Severe damage to your stabilized pathway will require a more in-depth fix. First, excavate the area to a depth of 2 inches to approximately a 50% increase in surface area. Evaluate and add an appropriate amount of stabilized pathway mix to the area. Finally, you’ll need to blend the new mix into the existing site. You have two options for this step:
- Using multiple passes, rototill to a depth of 2 inches. Take care not to exceed the depth of the blended aggregate. To blend the existing and new material, spray the surface of the area lightly and begin to till. If needed, add water until you achieve the correct moisture content.
- Remove the existing material and blend in new material on a clean pad. Depending on the size of your installation, you may use either a shovel or a front end loader to turn the material until you’ve created a homogenous blend. Finally, spread your mixture back over the excavated area, and add water until your mixture reaches its ideal consistency.
Pathway Mixes From Kafka Granite
When properly cared for, your stabilized pathway can last for years to come, offering a beautiful and functional route for public or private use. Kafka Granite is proud to provide the products and expert knowledge you need to make a project successful and maintain its integrity over time. If you have any questions about maintaining a stabilized pathway, don’t hesitate to contact us.